What Is Self-Leveling Flooring?
Self-leveling flooring is a cementitious or gypsum-based compound designed to flow and settle into a flat surface without extensive troweling. It spreads easily and forms a uniform layer that corrects minor imperfections in the subfloor, such as dips, cracks, or uneven sections. This liquid compound naturally expands and levels itself before hardening, creating a smooth, joint-free surface. Once dry, the surface can be left as a standalone finish with added sealers or coatings, or it can serve as a strong, level base for additional flooring materials.
Self-leveling flooring can be installed on nearly all types of substrates, including concrete, tile, and plywood, making it a versatile option for a variety of projects. Whether you’re working with an existing floor or preparing for new installations, self-leveling flooring provides a stable, even foundation for further layers of flooring or as a finished surface itself.
There are two primary applications for self-leveling flooring:
- Self-leveling as a standalone finish
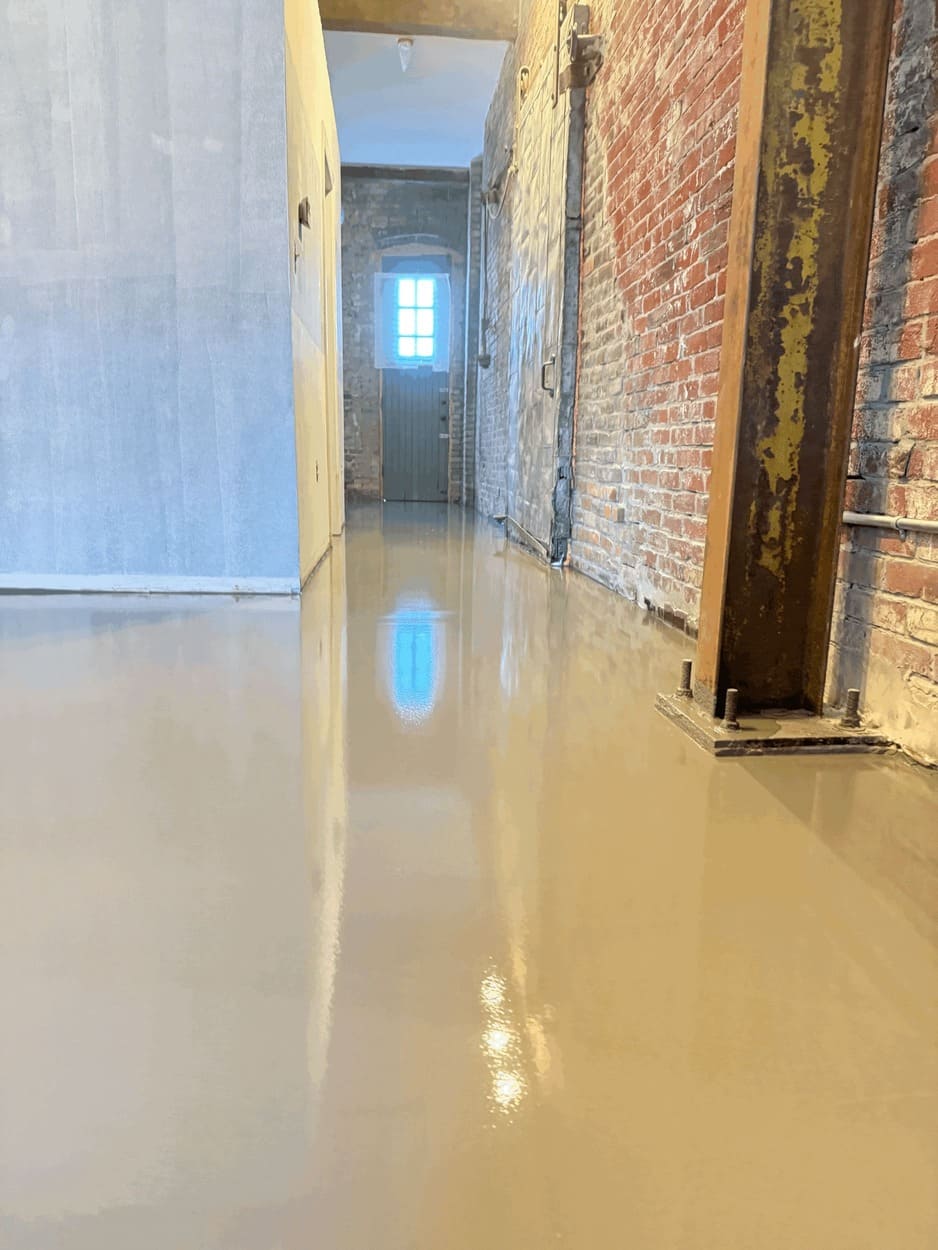
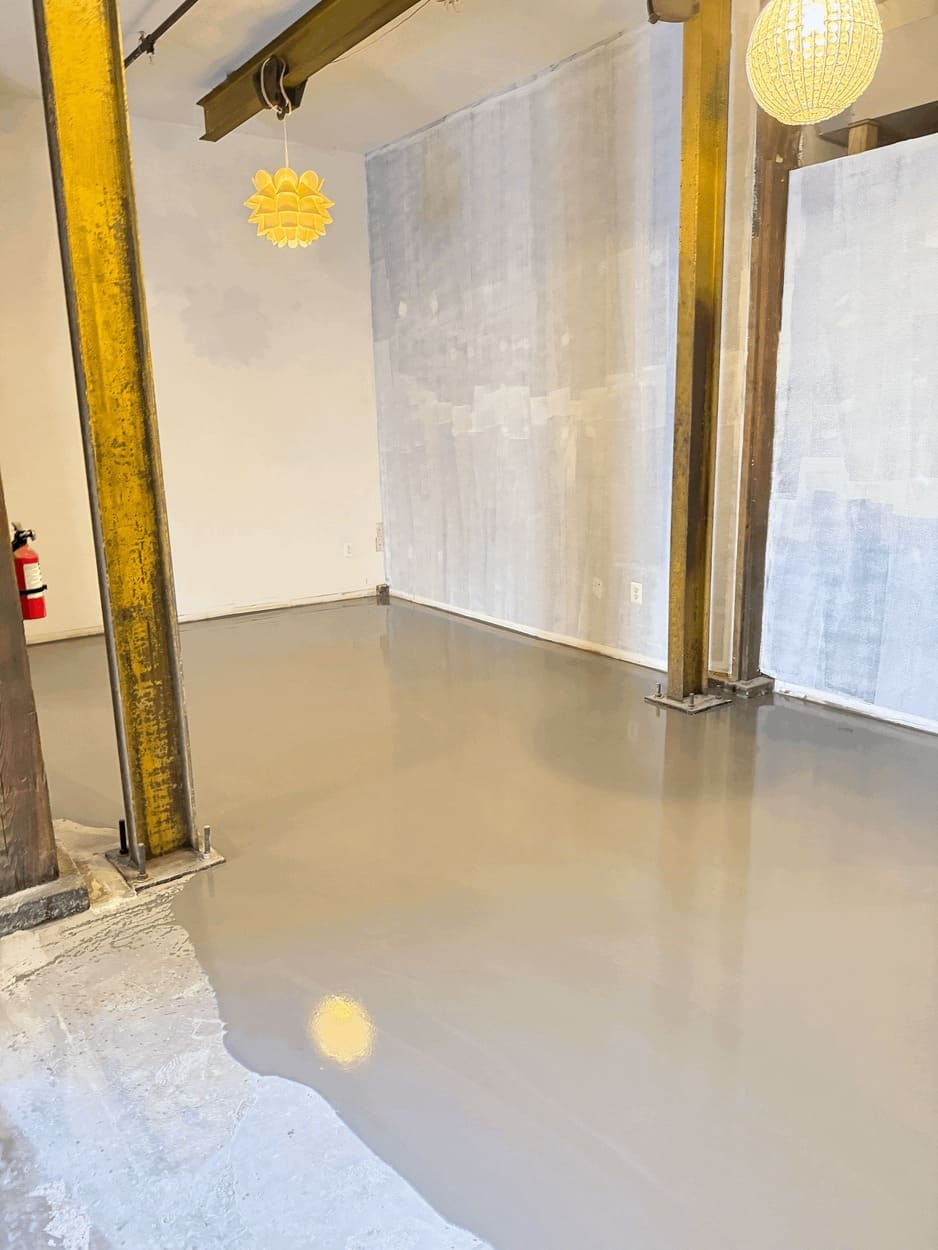
This type of self-leveling flooring is often sealed or painted for durability and aesthetics. It is ideal for modern industrial-style interiors, garages, basements, and commercial spaces where a smooth, polished look is desired. Also you can consider a painted self-leveling option.
- Self-leveling as a base for other flooring
Self-leveling compounds can serve as a foundational layer for epoxy coatings, laminate, tile, or other floor finishes. By creating a perfectly smooth and durable surface, it ensures optimal adhesion and longevity for the final flooring layer.
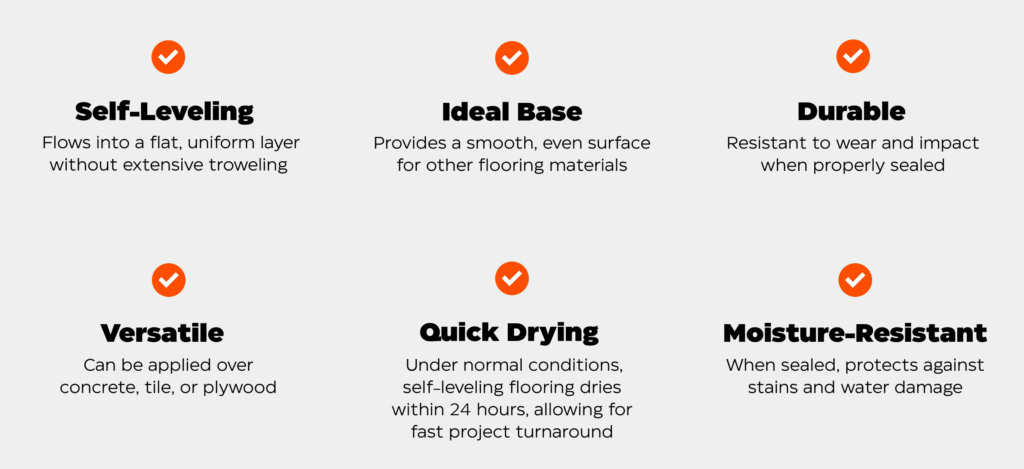
Benefits of Self-Leveling Flooring
Self-leveling flooring is primarily designed for floor leveling, but it can also provide an excellent solution for a variety of flooring challenges. Here are some key benefits of self-leveling:
- Perfectly Flat Surfaces: One of the main advantages of self-leveling flooring is its ability to create an even floor with minimal manual effort. This is especially useful when dealing with uneven or slightly damaged subfloors. However, achieving a perfectly level surface can be challenging for DIY installers, as multiple applications may be required to correct imperfections. If you lack experience, it is advisable to consult a professional to ensure a flawless result.
- Speed and Efficiency: Self-leveling compounds can be poured and finished within a single day, significantly reducing project timelines. However, depending on the size of the area and the complexity of the project, the process may take longer. Additionally, proper drying time is crucial before proceeding with the next steps to ensure a durable and stable surface.
- Versatility: These floors are suitable for a wide range of environments, including homes, offices, retail stores, industrial facilities, and more. Whether used alone or under another flooring type, self-leveling flooring provides a reliable and adaptable solution.
- Compatibility: Self-leveling flooring works well under various flooring materials, such as epoxy coatings, vinyl, tile, laminate, and hardwood. It also serves as an aesthetically pleasing standalone surface when sealed properly.
- Durability: When sealed correctly, self-leveling floors offer excellent resistance to moisture, stains, and wear. This makes them an excellent long-term solution for high-traffic areas and spaces exposed to occasional spills. Depending on the specific conditions of the space, it is essential to choose the appropriate protective coating—do not overlook this step! If you are unsure which option is best for your needs, we will be happy to assist you.
Self-Leveling Flooring Applications
Self-leveling flooring is a versatile solution that can be used in various settings, especially where a smooth base is needed for a final coating or when the existing floor is uneven.
Residential Spaces
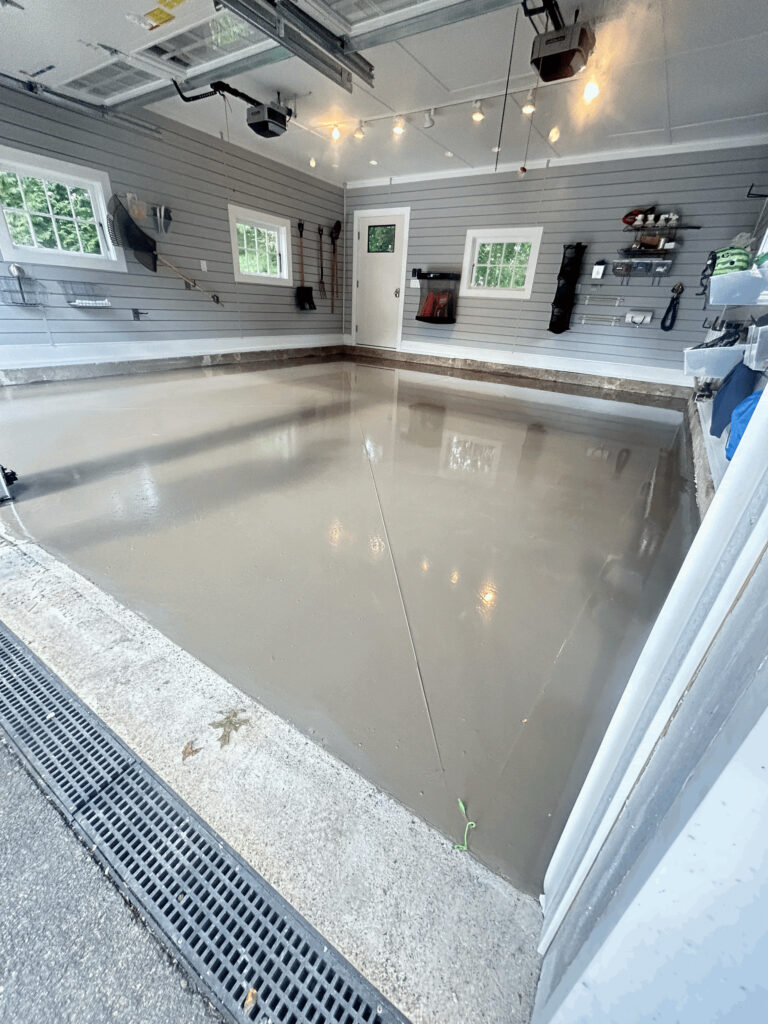
Ideal for garages, kitchens, basements, laundry rooms, and living areas, where a smooth and durable surface is required. It creates a seamless, modern look that complements many interior styles. Whether self-leveling is necessary depends on the specific project. In some cases, the existing concrete may be level enough, while in others, self-leveling is essential to create a smooth and even surface. It can be left as a standalone floor with a protective sealer for a raw, industrial look or serve as a strong base for further coatings such as epoxy flake, solid epoxy, microcement or other decorative finishes. When applied correctly, self-leveling helps create a durable, crack-resistant surface that also protects against moisture penetration.
In a recent project, a homeowner needed to level a basement floor before converting the space into a family room. The existing concrete had significant dips and cracks, making it unsuitable for direct flooring installation. After completing all necessary prep work and repairing the concrete, we applied a moisture barrier primer, followed by a self-leveling underlayment. The result? A perfectly smooth, flat surface, ready for luxury vinyl planks.

Commercial Spaces
Widely used in retail stores, offices, showrooms, restaurants, hotels, and medical facilities, where aesthetics and durability are equally important.
- Offices and coworking spaces: Provides a smooth and professional base for further finishes like carpet, epoxy, laminate, or vinyl.
- Restaurants and cafes: Moisture resistance and easy maintenance make self-leveling a great option for high-traffic areas. Plus, it can be a cost-effective solution—when paired with a properly chosen protective coating, the floor will last for years.
- Medical facilities: The seamless and even surface helps reduce dust and bacteria buildup, ensuring a hygienic environment.
Industrial Spaces
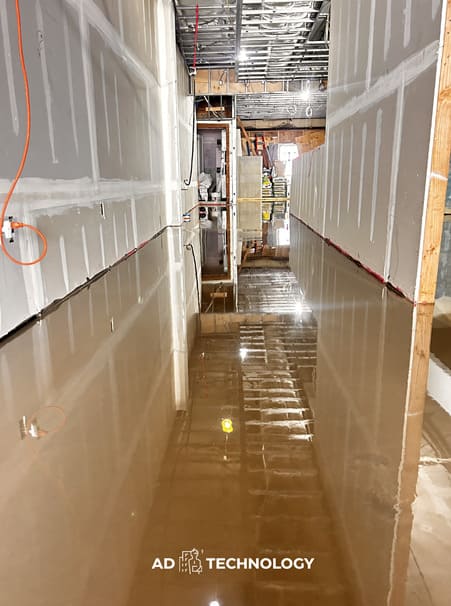
Essential for warehouses, factories, and production facilities, where flatness and durability are critical for safety and efficiency. Self-leveling floors can withstand heavy machinery, frequent mechanical impacts, and constant foot traffic.
Important Considerations Before Installing Self-Leveling Flooring
While installing self-leveling flooring may seem straightforward, achieving a flawless and long-lasting surface requires proper preparation and attention to detail. If you’re tackling this as a DIY project, be aware that even small mistakes in preparation, mixing, or application can lead to uneven results, cracking, or premature wear. When in doubt, consulting a professional is always the best option! Here are the key factors to consider before starting your project.
1. Subfloor Preparation: The Foundation of Success
The first and most critical step in self-leveling installation is ensuring that the subfloor is properly prepared. Any dirt, dust, or debris left behind can compromise adhesion and lead to an uneven surface. Before pouring the self-leveling compound:
- Thoroughly clean the surface—remove dust, grease, and any residues that might interfere with bonding.
- Patch any visible cracks and holes to prevent the leveling compound from seeping through and creating weak spots.
- Apply a primer—this step is often overlooked but is essential to improve adhesion, reduce absorption, and ensure an even spread of the material. A quality primer also helps prevent air bubbles from forming on the final surface.
2. Moisture Barriers: A Must for Certain Spaces
Not all floors require a moisture barrier, but in high-moisture environments like basements, laundry rooms, bathrooms, and even some garages, failing to use one can lead to delamination, bubbling, or premature failure of the self-leveling surface. If your space is prone to humidity or moisture migration from the concrete slab, consider:
- Applying a moisture barrier primer before pouring the self-leveling compound. This prevents moisture from rising through the floor, which can weaken the bond.
- Choosing a self-leveling compound rated for moisture resistance—some products are designed specifically to handle damp conditions.
- Testing for moisture—before starting, it’s a good idea to check the moisture content of your subfloor using a moisture meter.
3. Layer Thickness: One Pour Might Not Be Enough
- While self-leveling concrete is designed to flow smoothly and create a flat surface, layer thickness plays a crucial role in the final result.
Follow the manufacturer’s recommendations regarding minimum and maximum thickness per application. Applying too thin a layer may result in insufficient strength, while too thick of a layer may lead to cracking or improper curing.
- For heavily uneven floors, a single pour might not be enough. In such cases, multiple layers may be required, with adequate drying time between applications. To ensure a proper level, use a self-leveling laser or a traditional leveling tool to check the evenness of the surface after pouring.
Self-Leveling Concrete Tools: What You’ll Need
Proper tools are essential for achieving a smooth, even finish. Here’s what you’ll need for a successful self-leveling concrete installation:
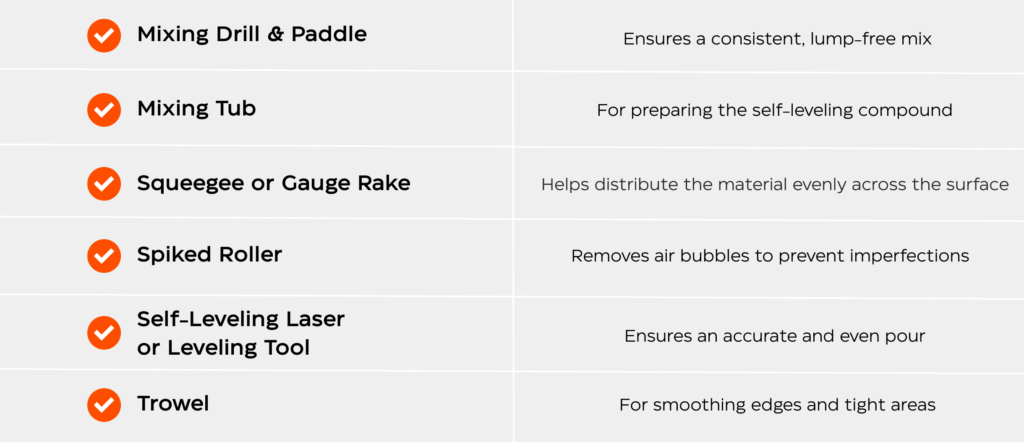
Consider reinforcement for deep leveling—if you’re making significant corrections, a reinforced self-leveling compound or additional stabilization methods may be necessary to prevent cracking.
-
Sealing the Surface: Protection & Longevity
Once the self-leveling concrete has fully cured, sealing the surface is highly recommended to improve durability and protect against wear, moisture, and stains.
- Sealers offer a protective layer that enhances resistance to spills and stains.
- They can provide a more natural matte finish or create a “wet look” that enhances color depth.
- If the floor will serve as a final surface (rather than a base for another flooring material), sealing is essential to maintain its longevity and aesthetic appeal.
Skipping this step may leave the surface vulnerable to damage, particularly in high-traffic or moisture-prone areas. If you’re unsure which sealer to choose, we’re happy to help you find the best option for your space! If you decide to do it yourself, you might find this guide helpful – Concrete Floor Leveling: DIY or Professional? Methods, Benefits, and Tips.
When Is a Sealer Absolutely Necessary for a Self-Leveling Floor?
If you’re planning to leave the self-leveling floor as the final surface without adding decorative flooring like epoxy, microcement, laminate, tile, or carpet, it’s essential to apply a protective sealer. Self-leveling compounds are not intended to be used as a finished floor for the long term. Without a protective layer, the floor will absorb moisture, causing any liquid that comes into contact with the surface to quickly soak in, which can lead to stains and dark spots. It can also change color, as exposure to water or other contaminants may result in streaks and discoloration. Additionally, the floor will be less durable, as it becomes more susceptible to wear, cracks, and chipping without a sealer.
A sealer provides several important benefits for a self-leveling floor. First, it creates a moisture-resistant barrier that helps protect the floor from stains and damage. This prevents liquids from soaking into the surface, which can otherwise lead to discoloration and long-term wear. Additionally, a sealer enhances the floor’s appearance by offering the option to choose between a matte finish or a darker, “wet” concrete look, which can give the floor a more polished and refined appearance. Lastly, a sealed surface makes cleaning much easier, as dust and dirt can be quickly wiped away without penetrating the floor, keeping the surface looking fresh and clean with minimal effort.
A sealer is essential whenever a self-leveling floor is used as the final surface. It is particularly important in high-moisture areas like kitchens, bathrooms, laundry rooms, or basements, where it helps prevent damage from water exposure. In high-traffic spaces, a sealer extends the floor’s lifespan and helps maintain its appearance over time. It’s also crucial in garages or workshops, where it provides protection against oils, chemicals, and mechanical damage, ensuring the floor stays intact and functional. Essentially, a sealer is recommended for all areas where self-leveling floors will be the final surface to ensure durability and longevity.

Self-leveling compounds are not a fix for structural problems
Self-leveling compounds are a great solution for smoothing uneven concrete surfaces, but it’s important to understand they are not designed to address underlying structural issues. These compounds fill minor surface imperfections like cracks and low spots, creating a smooth, even base for floor finishes. However, they cannot solve more serious problems like foundation cracks, settling, or inadequate concrete support. If significant issues exist with the substrate, such as large cracks or shifting foundations, these need to be addressed first. Applying a self-leveling compound over an unstable or damaged surface will not provide a solid base for adhesion and could lead to further deterioration. In some cases, structural issues may even cause the compound to crack or fail prematurely.
Therefore, it’s essential to evaluate the condition of the concrete before using a self-leveling compound. If there are noticeable cracks, shifting, or other structural concerns, it’s best to consult a professional for repairs before applying a leveling compound. By ensuring the substrate is stable, you can be confident that the self-leveling compound will work as intended, providing a smooth, durable finish.
Applying a self-leveling compound to an unrepaired floor will only temporarily cover the existing issues. It will mirror the cracks and breaks beneath the surface, preventing the compound from creating a truly level floor. To get the best results, it’s crucial to repair any damage, cracks, or structural problems first. Once the floor is stabilized, the self-leveling compound can effectively create a smooth and lasting surface.
Self-leveling installation on plywood
Installing self-leveling compounds on plywood is possible, but it requires additional preparation and differs from installation on concrete. Unlike concrete, where you can typically apply a layer of about 1/4 inch, on plywood the minimum thickness is 1/2 inch. This is due to the installation process needing to be reinforced.
To reinforce the plywood, a metal mesh or fiberglass mesh is added. This process, known as reinforcement, is necessary to increase the material’s bending strength and overall lifespan. The mesh should be firmly secured to the plywood with metal staples. Before installing the mesh, the surface must be cleaned thoroughly, and any cracks, joints, or seams should be filled. After this, a primer (either epoxy or water-based acrylic) is applied. These steps are crucial and cannot be skipped. Once the mesh is in place, the self-leveling compound can be applied. After the compound has set, it can be finished with a sealer or any other suitable flooring material.
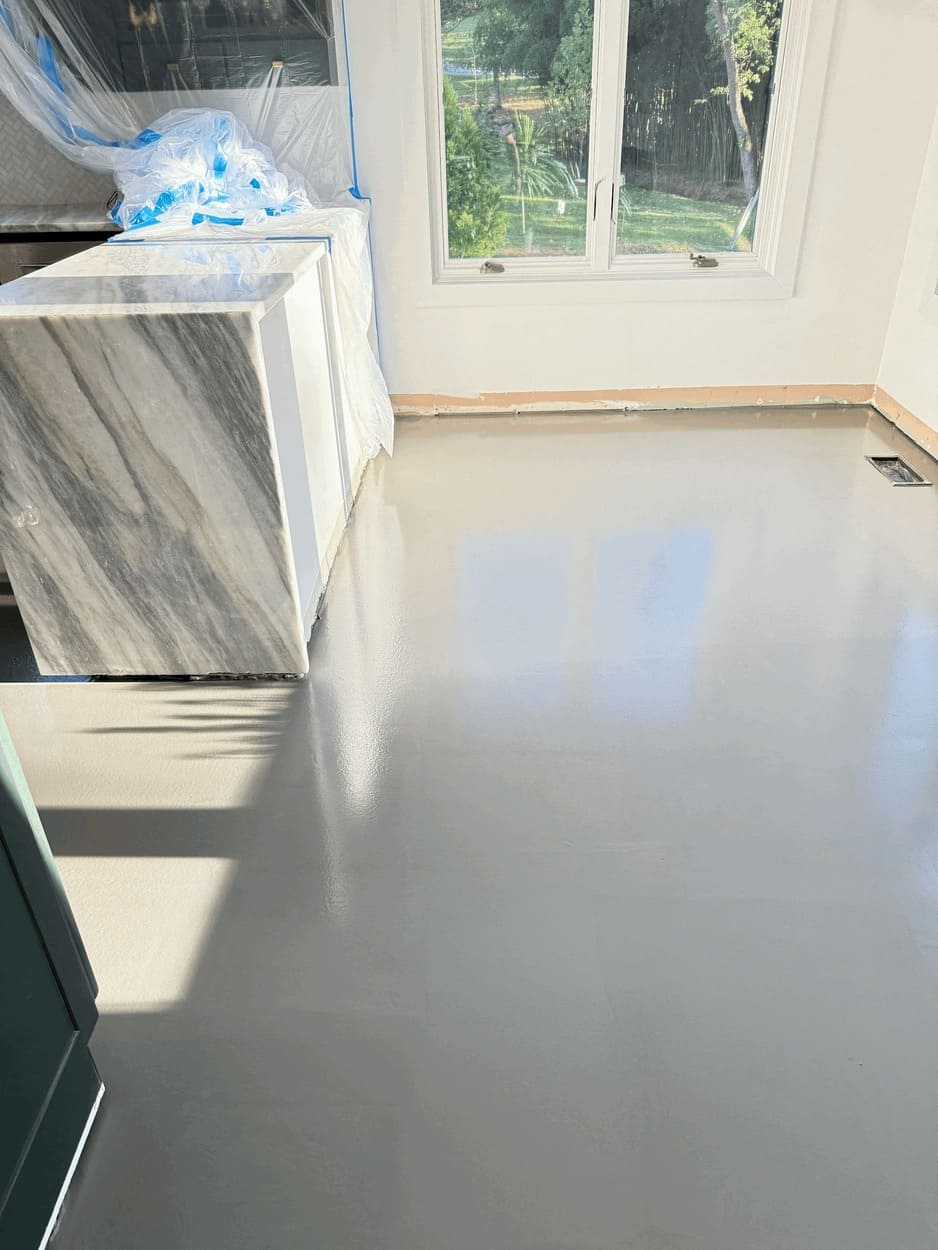
Self-Leveling Flooring in Action
Check out this video from one of our recent garage projects to see how self-leveling flooring works in action: Self-Leveling Flooring in the Garage — Project Video.
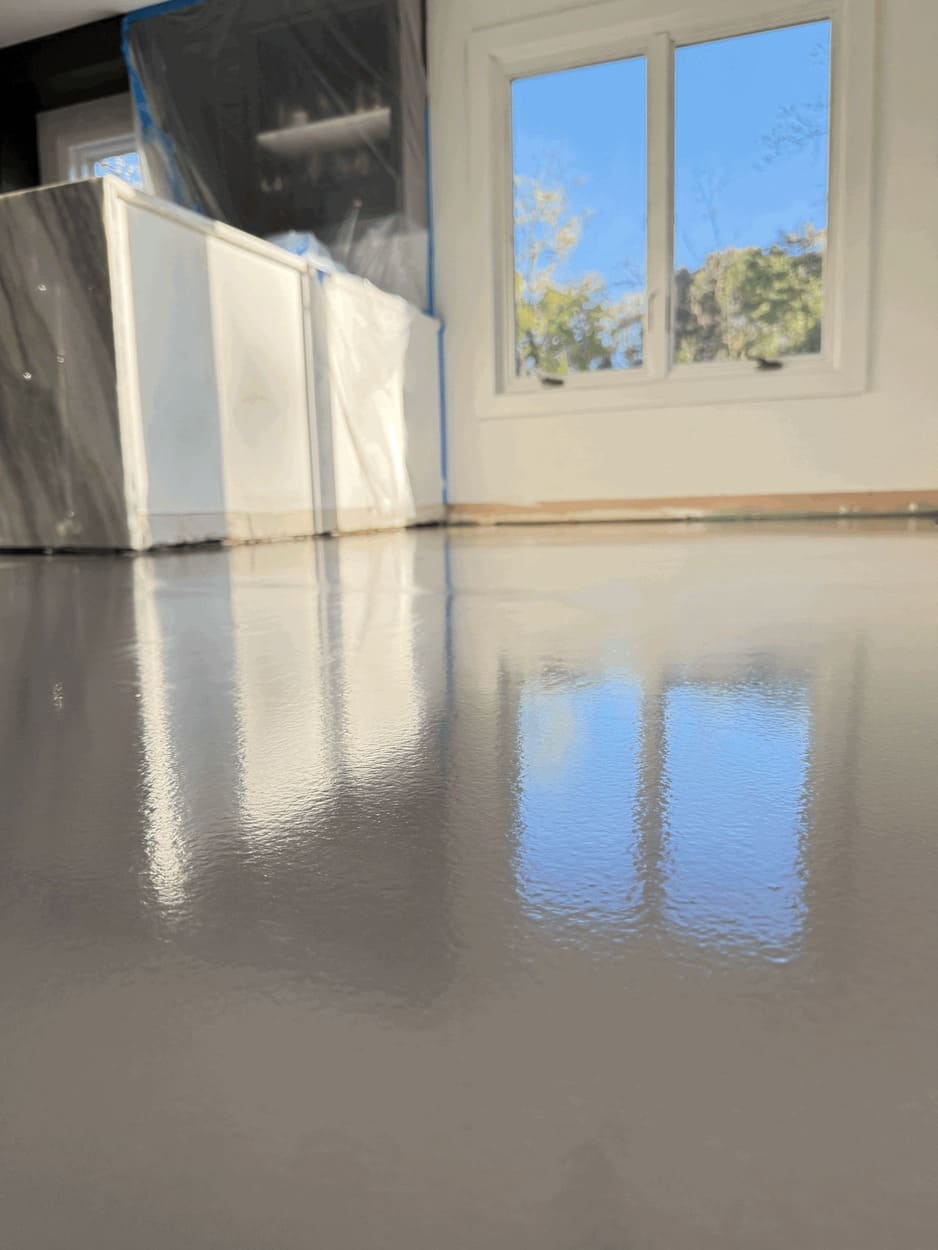
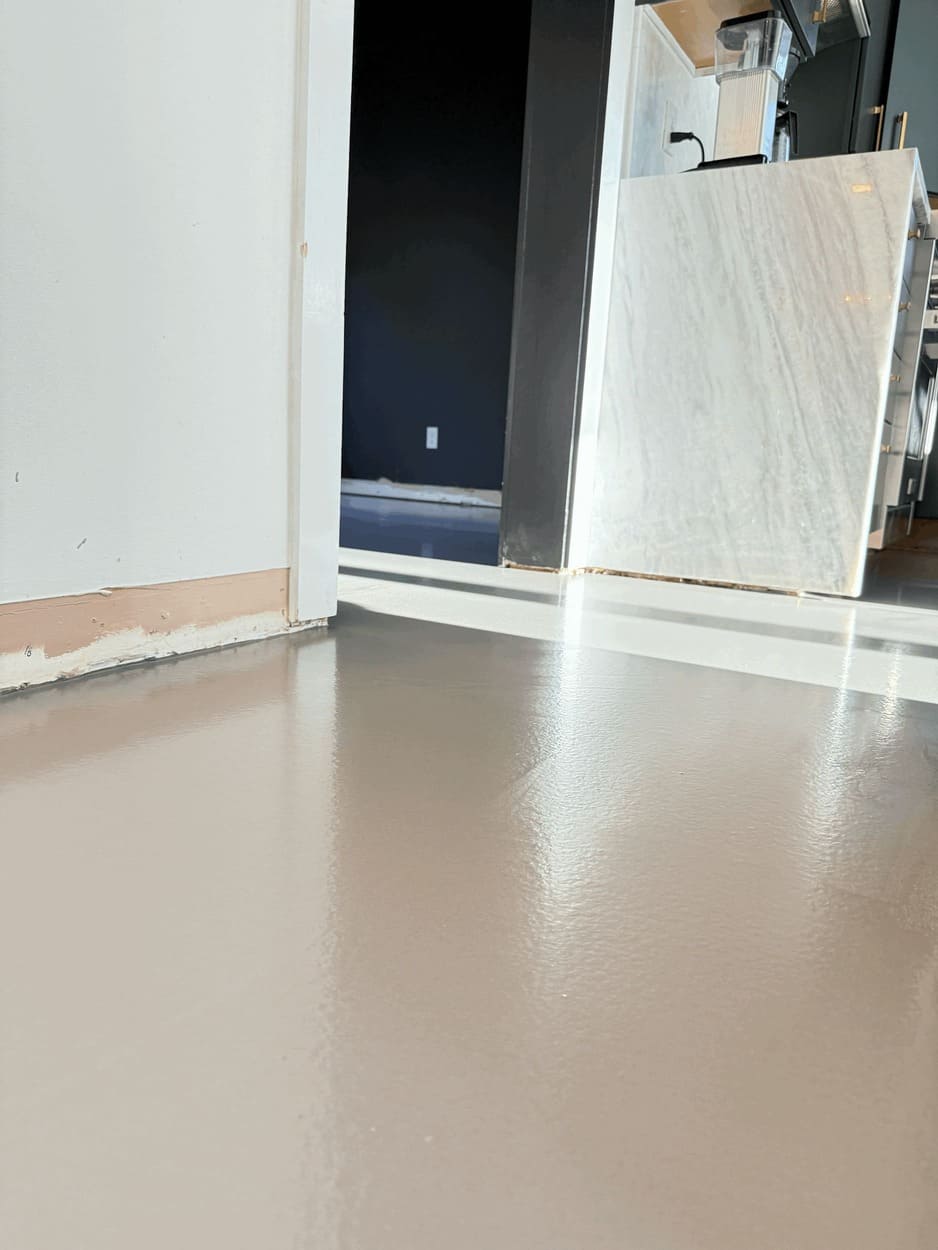
We have successfully used self-leveling systems in numerous projects to create smooth, durable surfaces ready for finishing. Here are some examples from our work:
1. Kitchen Remodel with Microcement
In this kitchen renovation, the existing floor had visible imperfections that would have affected the final microcement finish. To ensure a seamless, even base, we performed a self-leveling installation by applying a self-leveling underlayment over the prepared concrete substrate. Once fully cured, a microcement coating was installed, resulting in a sleek, modern floor with a continuous look.
2. Outdoor Deck with Wood Plank Microtopping
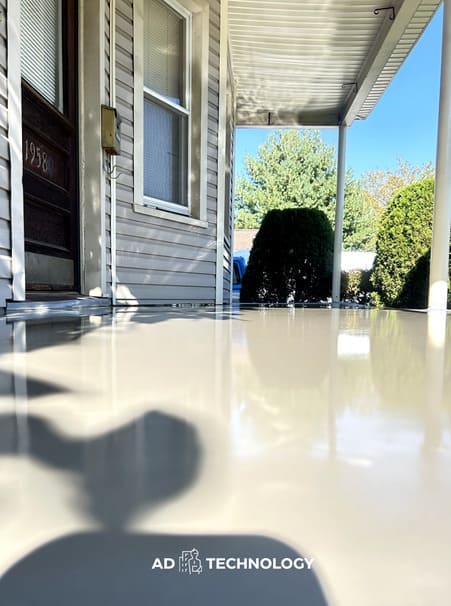
For this outdoor deck transformation, we needed to create a perfectly level surface before applying a decorative microtopping that mimics the appearance of wood planks. Self-leveling compound was essential to correct uneven areas and provide a strong, stable foundation. This ensured the final microtopping adhered properly and achieved the desired aesthetic while maintaining long-term durability.
3. Basement with Metallic Epoxy Flooring
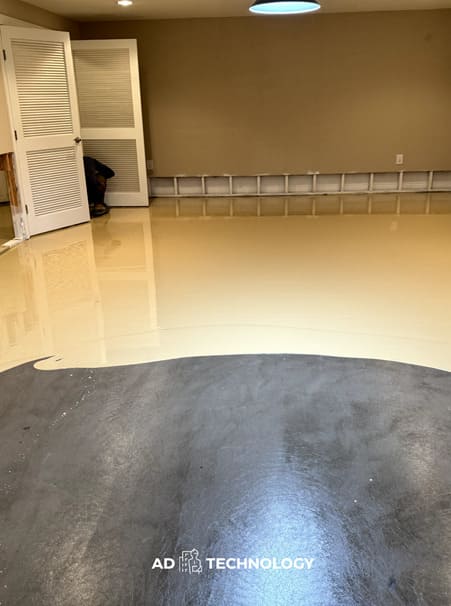
Basement floors often have uneven surfaces and moisture issues, making proper preparation crucial. In this project, we first applied a moisture vapor barrier to prevent potential adhesion problems. A self-leveling underlayment was then poured to create a smooth, flawless base. This allowed for the perfect application of a metallic epoxy coating, which gave the basement a stunning, high-gloss finish with depth and movement.
4. School Flooring Preparation with Self-Leveling
In this school project, our primary task was to prepare the substrate for the final flooring installation. The existing surface had inconsistencies that needed correction to ensure a smooth and even foundation. We applied a self-leveling compound to eliminate imperfections and create a stable base for the next stage of the flooring system. This step was crucial for ensuring proper adhesion and long-term durability of the final floor covering.
These projects highlight the versatility and importance of self-leveling flooring as a foundation for high-quality finishes. Whether used under microcement, decorative coatings, epoxy, or other final flooring systems, a well-prepared surface ensures the best possible results. Contact us – we will help find the optimal solution for leveling your floor. Remember, we offer a free quote! Call us at 267-547-7041.
Self-leveling flooring offers a reliable, efficient, and versatile solution for achieving flawless floors. Whether you’re preparing a surface for new flooring or looking for an industrial-chic finish, this method delivers excellent results. Proper preparation, the right materials, and attention to detail are key to ensuring long-lasting performance and aesthetic appeal. By understanding the full scope of self-leveling flooring — from materials to installation techniques — you can make informed decisions that enhance both the function and appearance of your space.
Self-Leveling Flooring System Highlights